Lots of people asks how I make my origami display tree. I make all my origami using my recycled wrapping paper. You can get them from my shop in a set or individually. Today I am going to show you how to make a cute gift box.

You will need to cut a square sheet of wrapping paper. The bone folder is optional (I use it to press down my paper/ creases firmly, you can use a ruler or your fingers).

Flip the paper over so that you start with the white backing. Fold paper twice so that you have these lines.

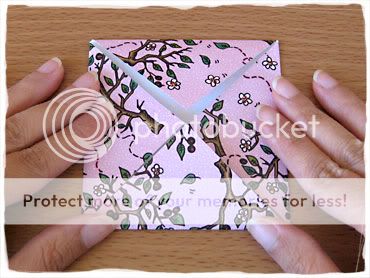
Using the 4 lines as a guide, take each corner and fold into the centre.

When all 4 corners touch, it will look like this.

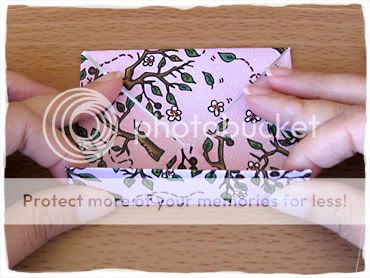
Now take bottom edge of the paper and fold into the centre.

Do the same with the top edge. It will look like this..

When your top and bottom is folded. Fold your left and right sides in the same manner as above.

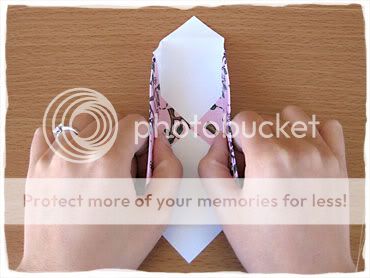
When you open up your paper, it should have all these creases. Don’t panic, this is good!

These creases will guide you into folding a box (that’s why it’s important to press firmly when you are folding the paper because it helps!)

Keep folding.


Getting there!

Yaay you have a box! You can fill it with candies, loose change, buttons etc. To make a lid, just repeat all the instructions above BUT use a slightly bigger square piece of paper, at least 0.5cm larger. This is to enable the lid to slip on and off easily.

For pretty packaing, I used a strip of coloured paper and some silver strings. I think lace, rik raks and vintage paper would be lovely too.
With this tutorial, you can make ANY size boxes, it all depends on how big your square pieces of paper are! Large squares make large boxes, and small squares make small boxes! Have fun!


